I have a boombox which sits in the garden where I'm chopping wood up, but when I'm in Jim measuring up and fitting things in place, I have nothing but my tinitus to keep my ears entertained. I therefore decided that it was about time I fitted the coaxial speakers I built last year, so that I can make use of the new headunit that I recently fitted in the console.
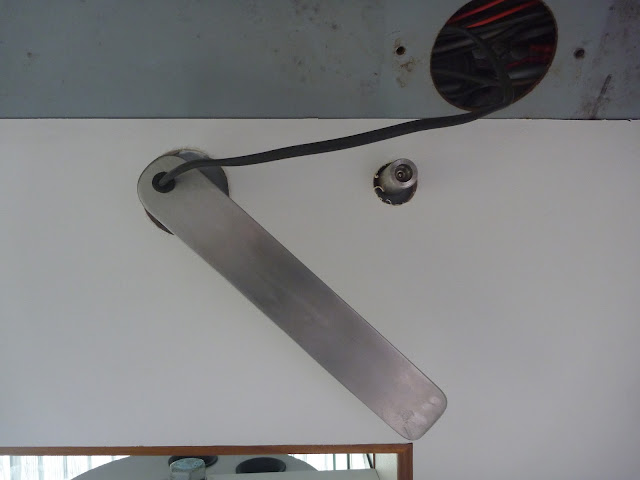
When I built the speakers, I fabricated a pair of brackets from 40x8mm steel flat bar to support the speakers on the wall, and allow them to swivel between the cab and the box. I welded washers to the end of each arm to give some clearance between the speaker and the metalwork, and then spraypainted the brackets.
I then drilled the brackets for fixing to the wall, and welded studs onto the wall to allow them to be bolted in place. The welds prevent the bracket sitting flush with the wall, but the 9mm plywood that I will be gluing to the wall will clear the welds.
I then removed the brackets, and clad the walls in 9mm Wisa Multiwall. Using 9mm (as opposed to 6.5mm which I also have a few sheets of), allows me to use the 9mm teak quadrant moulding which KJ Howells sell, and also gives me enough depth to run speaker cables into a channel routed in the back of the boards.
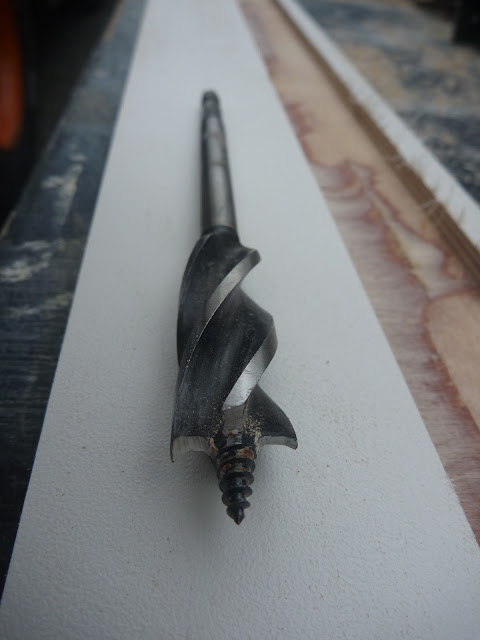
I'm probably a bit slow on the uptake, but for anyone who has to drill a lot of large holes in wood, the fluted drill bits below are in a different league to your standard spade bit. They feed themselves into the material and so don't need much pressure, they cut faster, and don't splinter as much on exit. The downside is the price, which is easily three or four times that of a spade bit. It's difficult to get too excited about drill bits, but they are pretty excellent.
Cutting the large board that covers the front wall of the truck was particularly time consuming. The shape itself is fairly complicated, but there are also the eight bolts that hold the cab to the box, plus the handle to lower the warning beacon at the front of the truck.

Unfortunately when I fitted the speaker brackets to the wall, it became apparent that my tape measure had played a practical joke on me, and so I had to cut the brackets apart, and weld in another 40mm to each arm. On the plus side, I got a chance to crank up the power on my newish Licoln MIG welder; my old Migatronic had become unreliable and so I replaced it with a 180a Lincoln unit. It's taking a while to get used to, but it's certainly a great piece of kit, the wire feed in particular is much more refined than the decades old German welder it replaced.
I then ground the welds back , before repainting the brackets. I always use a flap disk on my 4.5 inch grinder for smoothing down welds as it's easier to get a good finish than with a grinding disk. If finish is critical, you can use the flap disk to grind the top off, and then use sanding pads to finish it off.
With the brackets sorted, I bolted them to the studs at the front of the truck and fitted the speakers. The swivel system works moderately well, but as the fittings in the top and bottom of the speaker are both threaded the same way, one of them tightens and one of them loosens each time you turn the speaker back and forth. It would probably have worked better if I had used non-threaded top hats, and had threaded the brackets to tighten the bolts.

I fitted Speakon connectors to the cables that I ran up the back of the wall cladding and connected the speakers up. I also ran wires for to small fans to help keep the driver and passenger cool when driving, or to point at the seating when in the back. The fans are 24v 2-speed Hella turbo fans, and they do a pretty good job of shifting air without being offensively loud. A small design oversight, is that the back of the fan is unshielded; if they just sit on the dashboard pointing at the driver this would never be a problem, but in this position, if they are pointed into the cab, the back becomes exposed, leaving the potential for as much discomfort as a small piece of spinning plastic is capable of.


.jpg)


No comments:
Post a Comment