I mentioned in this blog whilst converting Jim into a motorhome, that I was trying as far as possible to avoid using fixtures and fittings from caravan and motorhome suppliers, partly because they tend to be fugly (technical term), and partly because they have the resilience of a chocolate tea pot. In general I managed to stick to this ambition, and I largely used parts from marine and industrial suppliers. In the bathroom however, I broke my pledge, and bought a series of matching plastic pieces that combine to make a reasonably attractive moulded bathroom suite. To replicate the appearance and functionality of these items in something tougher like fibreglass would have taken me a significant chunk of time, and so I took the lazy option. Below is a photo taken whilst I was installing the items in May 2012.
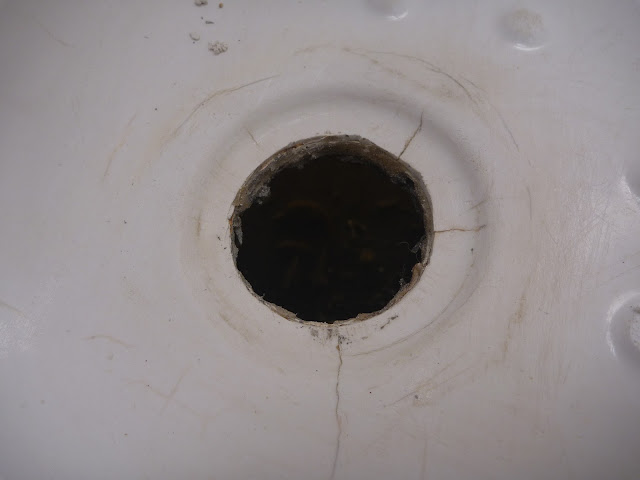
As soon as I picked up the shower tray component of this suite, I knew the decision would bite me on the arse, but I thought that a hefty amount of plywood and sikaflex reinforcement would be enough to prevent it from falling apart. I bonded a sheet of plywood across the bottom of the tray, and supported all four edges with a plywood upstand. In hindsight I completely underestimated the utter uselessness of the original product. I hate calling anyone out without giving them a chance to defend themselves but in this case the shower tray that I bought from CAK Tanks to match the C400 type Thetford cassette toilet was so appallingly low quality that I feel compelled to advise others to either not waste their time, or to simply use it as a mould to make a better version out of fibreglass.

I must acknowledge the awesome abilities of the CT1 adhesive that I used as a temporary repair to the tray whilst we were travelling. It is described as a hybrid polymer adhesive sealant, and it worked remarkably well to seal all of the damage and prevent water leaking into the area under the tray. When I first used it, I expected it peel off, as the cracks flexed. But it stuck the tray far better than the Sikaflex I used to bond the reinforcement pieces, and remained flexible enough to absorb the significant movement in the cracks around the edge of the tray. Unfortunately as well as it worked to prevent leaks, it made the shower tray look shabby, and ultimately I couldn’t live with the shame of such a visible bodge.
The way in which I constructed the bathroom in Jim would make it a massive ball ache to remove and replace the shower tray, and whilst I acknowledge that this may be in my future, I decided to first try and repair/rebuild the shower tray in-situ. The easiest way that I could think to repair the damage, was to fibreglass over the existing shower, effectively building a new tray inside the old one. The only snag in this plan was finding a way to get the new tray to bond effectively to the old one. Having a fair amount of epoxy resin left in the shed, I decided to use this for the fibrglassing, but I knew from experience that there are many plastics that epoxy does not effectively adhere to. My first step was to try to find out which plastic the tray was made from.


