The first thing I had to do was run the cabling under the roof rack. The cables are fixed to the steel using rubber line P-clips; all available steelwork is occupied with solar panels at the back end of the rack, and so to ensure that the solar panels can sit flush in the frames, all of the clips had to be fixed using countersunk rivets. This task involved drilling about 70 5mm holes in the steel roof rack, countersinking each hole, painting each hole to protect the exposed steel, and then riveting a p-clip in each hole. As well as testing my patience, my cordless drill batteries committed suicide, I snapped two drill bits, and my riveter declared war on my hand.
I toyed with the idea of using conduit, but decided it was unnecessary. The solar cable is double insulated, and is fairly protected being 3.5m off the ground, in the 80mm gap between the roof of the truck and the underside of the roof rack. I've clipped the cable every 20cm, and have wrapped it in cloth tape where is likely to chafe.
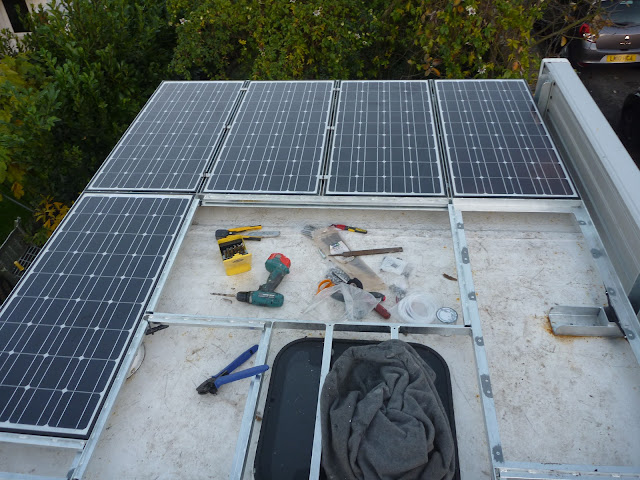
Four cables were run across the rack (two positive and two negative), to allow me to run two parallel strings of solar panels, each with four 100w panels in series. Three of the eight panels are likely to be in shade for some of the day as the adjacent awning sticks up a fair way. You can see the potential shading issues with the panels on the right of the rack in the picture at the the beginning of this post.
To give me a better chance of getting a good charge into the batteries I have wired the three partially shaded panels into one string of four panels, and the the remaining unshaded panels into another string. The Morningstar MPPT regulator I am using only has one set of panel inputs (as most off-grid regulators do) and so i am parallelling the two stings together. I am not knowledgeable enough on solar wiring to understand the impact this situation will have on the charge current and voltage, and the ability of the MPPT regulator to track the optimal power point properly, over two strings in differing light conditions. Can anyone reading enlighten me?
As per the diagram below, I have wired panels 1-4 into one string, and panels 5-8 into another string, each with a nominal voltage of 48v (72v @ maximum output).
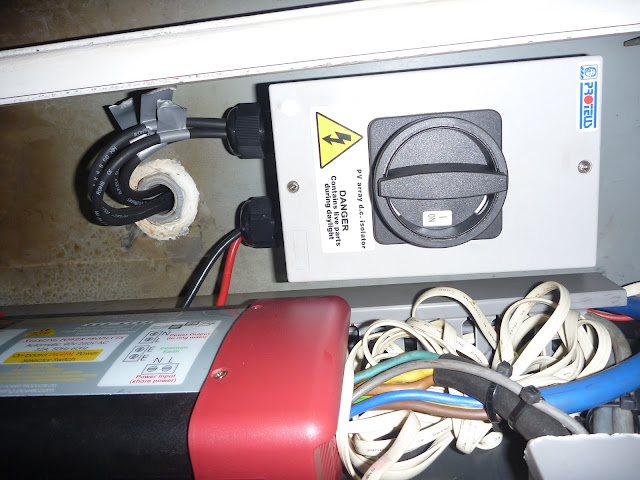
The cables terminate at a glanded junction box located above the electrical cupboard, from where they drop into the truck through a short length of waste pipe. In a moment of laziness I didn't brush off the swarf from drilling the P-clip holes in the roofrack. Consequently I now have rust stains all over the roof. Once inside the truck, the two positives and two negatives are joined and fed into a high current DC isolator.
The cables finally run directly into a 45a Morningstar MPPT regulator. The output of the regulator is fused, but I have had mixed opinion on whether it is necessary to fuse the cable between the panels and the regulator; at present it is unfused.
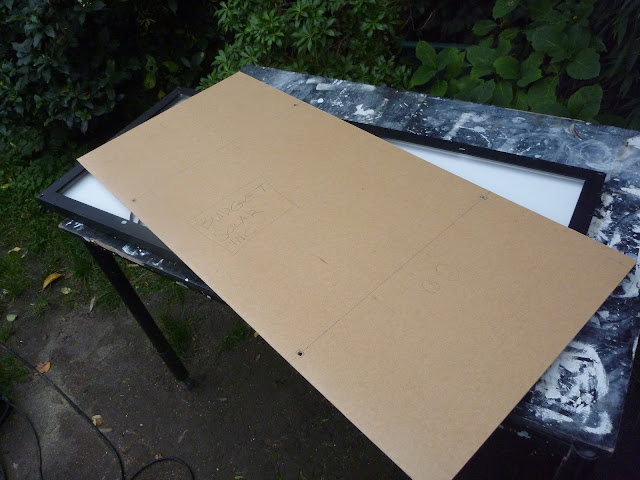
With the cables run. I began to install the solar panels. First I had to drill holes in each section of the roof rack to match up with the four holes predrilled in each solar panels for bolting them down. To ensure I drilled the holes in the correct places, I made a hardboard template of a solar panel, with the holes drilled in the correct place for marking the roof rack.
Around the edges of the rack, it is possible to gain access to these holes, however, where one panel is adjacent to another, there is insufficient space between them to reach under and access the holes and so for these areas another fixing method was used. Along the 15mm gap between each panel, three nuts were welded in, and a small clamp was fabricated by Brownchurch to clamp the panels in-situ using M8 bolts.
The red on my fingers is not blood on this occasion, and is just ink from the permanent marker used to mark the holes for drilling.
With the necessary holes drilled, I cut strips of 3mm thick, solid neoprene rubber to sit under the solar panels. The rubber galvanically isolates the aluminium solar panel frame from the galvanised steel roof rack, and should isolate the panels slightly from the road vibration.
It is not difficult to climb onto Jim's roof, and so to make it harder for someone to steal the solar panels I used security bolts. I'm not under the illusion that these will make it impossible for a determined thief, but they do make life more awkward. For the clamps I used button head pin torx bolts. The button head means that the bolts can't be removed with molegrips, and the pin torx makes it less likely that someone will have the correct driver insert with them.
These bolts were a complete pain in the arse to access, and so even with the correct wrench, a thief would need to have long, but slender arms to access them. This precludes short, fat, or muscular thieves from stealing most of the panels, and would make it easier to identify the thief in a lineup!
So far I've managed to bolt down and wire up one complete string of four panels, and have got one panel from the second string bolted down.
Once the panels were bolted down I cable tied the wiring to the rack, to prevent the cables and connectors banging on the roof as I drive along. I ran the cable ties over the bolt heads, which enables me to see whether someone has had a go at the panels.
The next Job is to install the remaining three solar panels, and install decking on the spaces not occupied by solar panels.


Wow! Nice work chap,makes my 100 watt panel look rather feeble !
ReplyDeleteStephen.
Thanks Stephen, 800w is probably excessive but I wanted to be able to park in one place indefinately without having to run the generator or truck to charge the batteries.
ReplyDelete