
When Jim came into my ownership, the back doors comprised of two ridiculously heavy steel side hung doors, with multiple sliding bolts and electro magnets operated remotely from a computer system which had been cut out when the truck had been decommissioned. I rigged up a locking system so that I could temporarily use the back doors, but they were ridiculously impractical and had dropped enough on their hinges to make using the doors a viable alternative to gym membership.
When I sent Jim off to have some work done by a local coachbuilder, I got the rear doors replaced with the three section GRP doors shown in the photo below taken in early 2012.

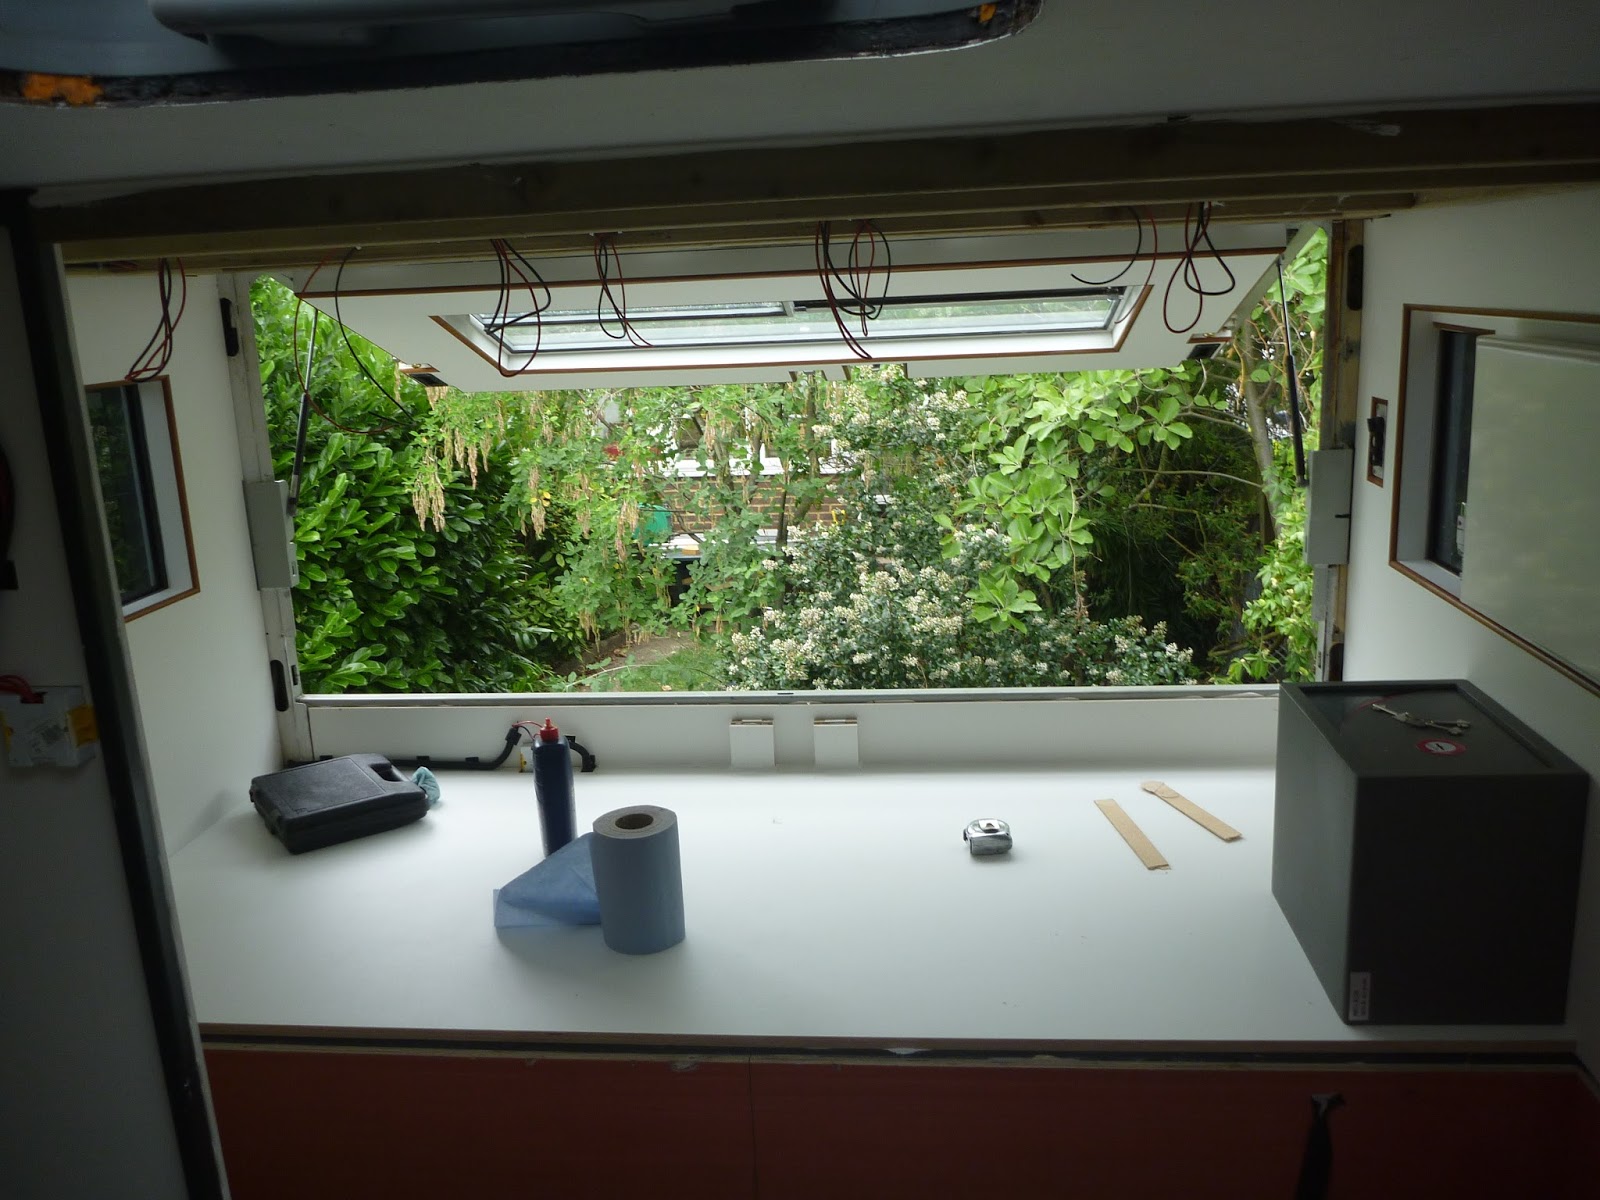
The bed will be at a height of about 70cm off of the floor, and the area underneath it will be accessed only from the back of the truck, through the side opening doors. The window at the back of the truck will let light into the bedroom area and the whole flap across the top half of the truck opens upwards on gas struts.
The area to become the bedroom was largely bare when I started work; the whole area back from the side door comprised of a separate cargo area when I bought Jim from Brinks/Loomis and so there was never much clutter here, with the exception of a smoke cloak security system and some load restraint bars which have long since gone. However, in the nearside back corner, there remained a panel at 45 degrees to the wall, hiding the cabling for the tail-lift controls and the rear marker lights. This panel would have eaten unnecessarily into the bedroom space, and so I carefully removed it with a crowbar, lump hammer and angle grinder, leaving a bare space in which to start work.


Right now, the combined weight of Naomi and me is probably less than many of the people we'll meet in America. I could build the bed out of matchsticks and cardboard and it'd probably last a while, but I have to be realistic and accept that it wont always be this way. We're getting married in September, and it's a recognised and accepted fact that married men let themselves go. As a married man in the worlds most obese country, I would be doing well if I don't return to England having doubled in weight. I therefore decided the build the bed with this in mind, and instead of using 25mm box section steel as I have done for the other furniture, I used 50mm box.
In a moment of enthusiasm more than a year ago, I bought some steel for this purpose. Not wishing to clutter up the limited space in the truck, and not having sufficient space anywhere else, I stored this steel under a tarpaulin in the back garden. The steel supplier that I use, kindly smear used engine oil over their steel to stop it from rusting in their yard, but even this disgusting, hazardous, filthy mixture was insufficient to prevent the steel rusting in the glorious UK sunshine, and so I spent a couple of days cleaning and painting the steel.

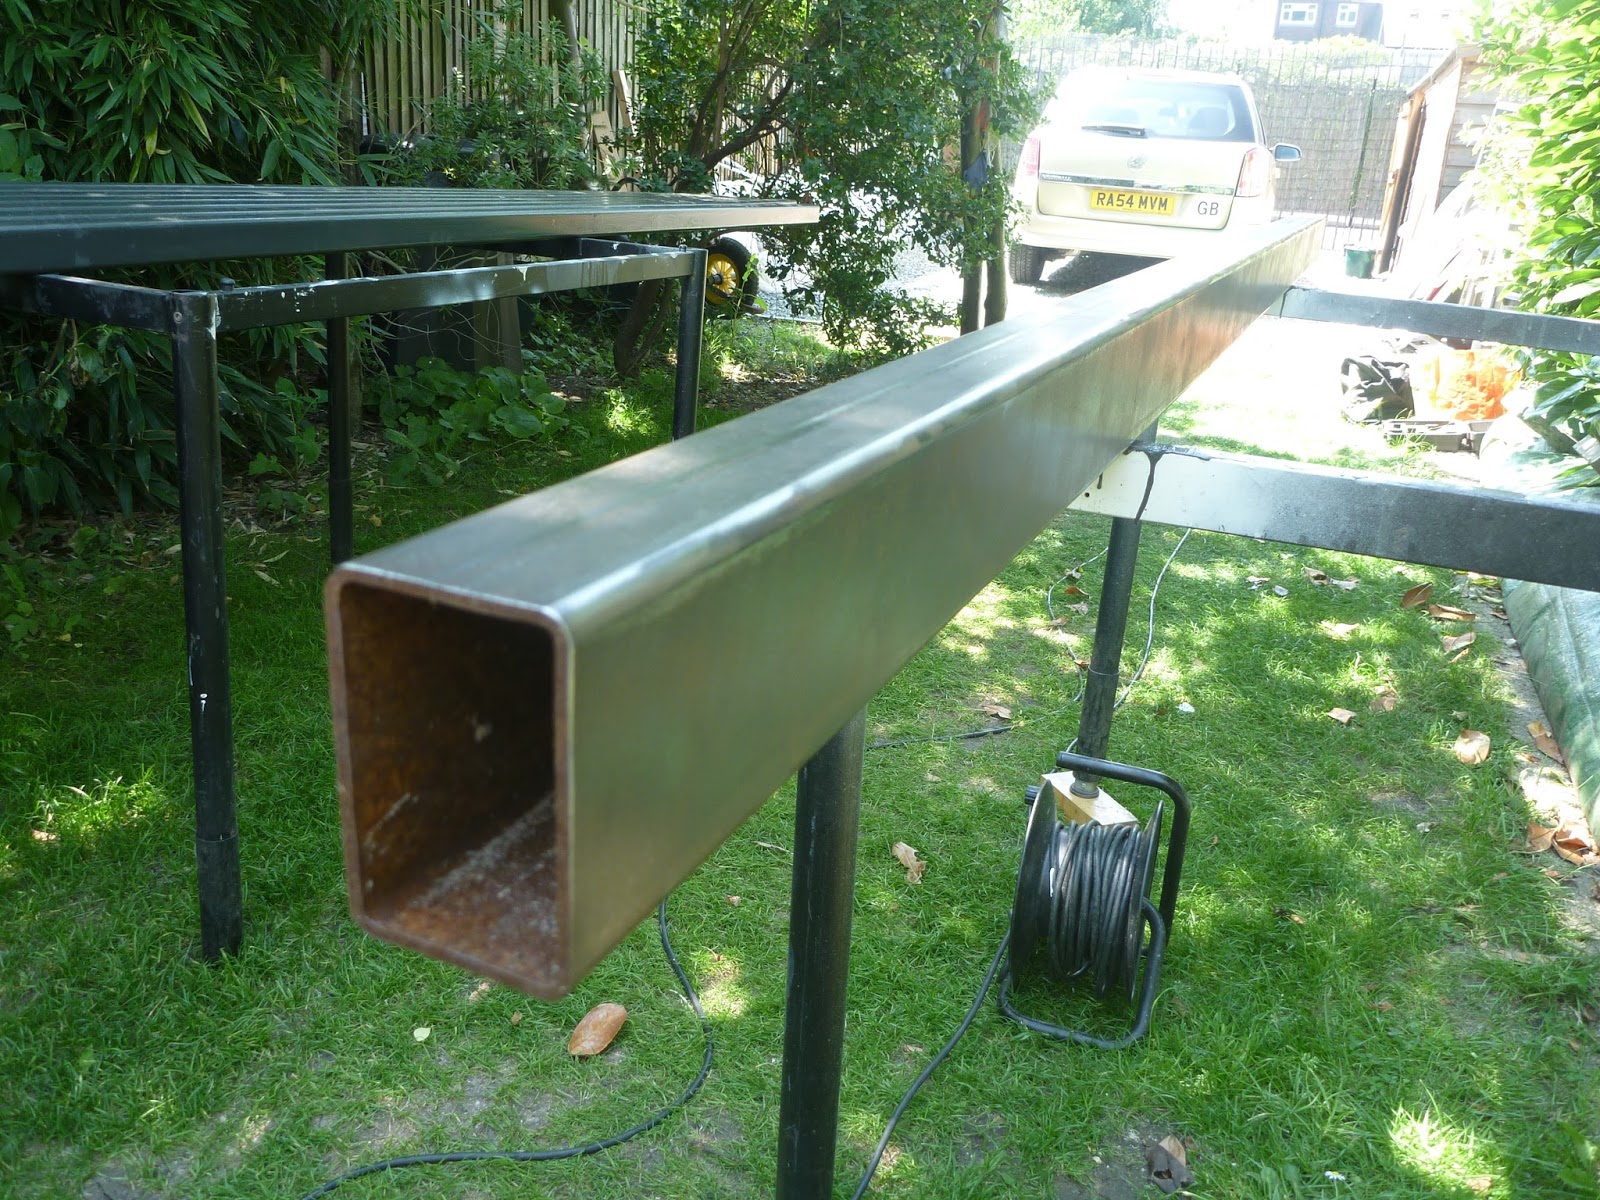

Most of the bedroom framework will be concealed once the area is built out, and so I didn't go overboard on the prep work, but the steel needed to be sound enough to be able to glue subsequent plywood, and needed to be clean enough for me to be able to weld it together. All of the steel fabrications I have done on Jim have been painted with Brantho Korrux 3-in-1 paint. I experimented with using 2-part epoxy paints when I first bought Jim, but the added complication of using a 2-part Zinc-Phosphate Primer, a 2-part Micaceous Iron Oxide barrier coat, and a final top-coat did not justify itself. Brantho Korrux works better than most paints on poorly prepared steel, and with three coats, its performance at preventing rust on steel is excellent. It's only weakness is that it takes a long time to become hard, and never hardens as much as epoxy or polyurethane paints. It is much better than hammerite as a general purpose steel paint and it genuinely performs better than many multi component systems with separate primers and undercoats.
With the steel prepared, I began to chop it up and glue it back together using my Dewalt chop-saw and Lincoln MIG welder. I started by building a frame for each side of the truck, to support the bed and storage cabinets. The steel frame of Jim's box body would be plenty strong enough to support the bed, but not wishing to poke around with a drill trying to find the vertical member, it was easier to just use a few vertical supports. The internal walls of jim are clad in aluminium (on top of steel!) and so I could only weld these frames to the steel treadplate floor, they are not fixed to the wall at all, but will be wedged in place by the horizontal steels members which span the width of the truck.

The forward section of the space under the bed, will be home to a 450 litre water tank, and so I created an additional frame under this section of the bed.

I then welded in the horizontal members which will support the bed. The spacing is approximately 40cm between each support, enough to prevent any noticeable deflection at all, and no doubt enough to future proof the bed against potential weight gain, or interest in bedroom based team sports.


The final piece of steelwork to weld in place formed the wall of a storage cupboard between the bedroom and bathroom, which will no doubt make up the next project I undertake.

With the steelwork complete, I started to insulate and clad the forward section of the frame, which will hold the fresh water tank supplying the taps (faucets for my US readers) and shower. Having the tank mounted inside the living space will be enough to reduce the likelihood of the tank freezing in cold weather, but with the rear wall exposed to the unheated garage/boot space, I thought it worth putting 50mm of insulation around it.


The wall cavity in Jim is insulated to some extent, but the quantity of cold-bridges mean that preventing heat-loss will be a losing battle. To make life more comfortable in cold climates, I decided to add an additional 50mm of PU foam insulation in the bedroom area, spacing the wall-boards off of the aluminium inner skin with 2x2inch timber studwork to prevent any more cold-bridges. This should mean that once the heating has gone off, the bedroom are retains warmth a little longer. I do not plan to build a wall separating the bedroom area, but will endeavour to fit a thick curtain which helps to stop heat being lost to the rest of the space inside the box.

Both the nearside and offside walls have a small (bullet-proof) window which I needed to box around, but the nearside bedroom wall will also be fitted with a small radiator. Before insulating and cladding this wall, I ran the plumbing for the radiator and fitted the brackets to the wall, most of the pipework in Jim comprises of 15mm Polyplumb plastic pipe and fittings, but where possible I have used copper pipe whenever the pipework is exposed (for aesthetic reasons) or passes through steelwork (to prevent chaffing).


The pump on the Webasto water heater that I fitted a few weeks ago is adequate to push heated water around a small heating loop, but is nothing like the big 240v pumps fitted to central heating systems in the UK. To give it a better chance of circulating water effectively, and to comply with the Webasto insulation guidelines, I plan to use 19mm ID rubber hose for the main circulation loop. I am sure there are a few ways of transferring coolant from the rubber hoses to the 15mm plastic pipework, but the least bodgy way of doing it seemed to be to use the plastic to brass BSP thread fittings that Polyplumb manufacture. I used a 15mm to female 3/4inch parallel BSP thread converter, and fitted a matching 19mm hosetail fitting to it, using lots of PTFE tape, a large vice and a big wrench.


Insulating the bedroom would have been pretty futile if Id left the large rear flap uninsulated, and so I did the same insulating and cladding work to it that I recently did on the side door. I boxed the flap out to 50mm using more Multiwall, and dropped in a piece of 50mm insulation board, before covering it all up with another piece of multiwall. With a window, three lock strikes, two deadlocks, two gas struts, and a handle to box around, this took longer than seemed reasonable.


Not needing to stand up in the bedroom, I took the opportunity to add insulation to the ceiling too. I put some studwork across the ceiling, and ran cables for some low power LED downlights.

With most of the dirty work now completed, I clad the side walls, bed base and ceiling.


The ideal base for a bed is slats, as they provide a firm enough base to prevent a mattress from sagging, but allow it to breathe enough to prevent damp and mould. Unfortunately slats would not have worked well for this application, as the area under the bed is not insulated and so the mattress would have got very cold. I therefore fitted a solid board across the Bed area, and will use some porous foam to allow the mattress to breathe. The area above where the water tank will go, is to be fitted with a separate removable board, to allow access to the tank for cleaning and possibly repairs.
I had welded two M12 studs to the steel framework before cladding to allow me to secure a safe to the bed frame. This will be enclosed in a storage cabinet at the foot of the bed.

The safe was designed to be mounted conventionally, with the door opening outwards rather than upwards, consequently there was no easy way to open the heavy door with the safe on it's back. Safes are not normally fitted with handles, as they provided appoint of leverage for someone to try to prise open the door. I bent up a small piece of round bar and lightly welded it to the door to allow it to be easily opened upwards. The welds were done with low power and were very short tacks and will fail long before the door could be forced open.

With the safe modified, I built a small enclosure to cover it up and provide same additional storage space next to it. I had to reduce the height of the rearmost box to retain access to the lock on the rear flap. I will build a another storage box to go forwards of this one, but this will have to be removable to allow access to the water tank.

With bedroom fully separated form the garage are underneath, I could clad this area and begin using it to get tools and materials out of the space I am working in. The 15cm (6 inch) strip visible at the top of the garage space is the are occupied by the mattress. I could have had this strip blanked off when having new doors made for the back of the truck, but it made it simpler and cheaper to separate the top and bottom sections with a single piece of 50mm box section steel. The two rebates in the 15cm strip are to prevent the lock shoots from fouling.

I fitted a 1m LED strip light to this area to make it easier to find stuff in there at night.


No comments:
Post a Comment