The bathroom extractor fan was doing a good impression of an aeroplane on the thin plastic cabinet that I mounted it on, and so I fixed a piece of 6.5mm plywood to the back of the cabinet to damp the rattling. I fixed the plywood in place with (more) Sikaflex 221, and used longer mounting screws for the fan which extended into the sheet of plywood. The sound is now much better and with the door of the bathroom closed, the sound is almost inaudible from outside. I didn't take any photos sadly, but if you imagine a square piece of plywood with a circular hole in the middle of it, you'll have a good idea of what it looked like.
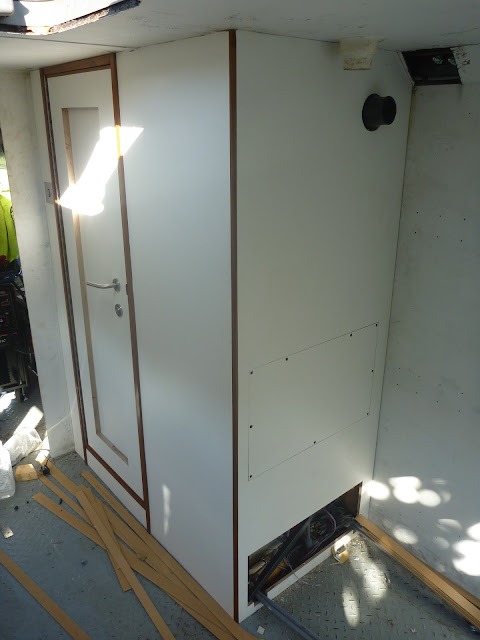
The next job was to clad the back wall of the bathroom. Using the same template technique, I cut out a piece of 12mm multiwall and stuck it the steel frame of the bathroom. I then used a piece of quadrant trim to make a nice transition to the side wall of the bathroom.
I left two access hatches in this panel, the top one is to access the tap connections and basin waste, in case I need to change the bathroom taps or clean clumps of hair and vomit out of the waste trap. The bottom hatch is to access the connection to the toilet, and all of the elbows and tees for the radiator, shower, toilet and taps. Where possible I will leave access to plumbing connections in case of disaster, but in some cases it will be impractical or impossible. I had intended to make access panels for both hatches, but the bottom cut-out will be hidden in an enclosed box housing an air conditioner, and so there is little value in putting a panel here. In the photo below you can see the plumbing connections for the hot and cold water, and the flow and return to the radiator, and the electrical connections for the toilet and extractor fan.

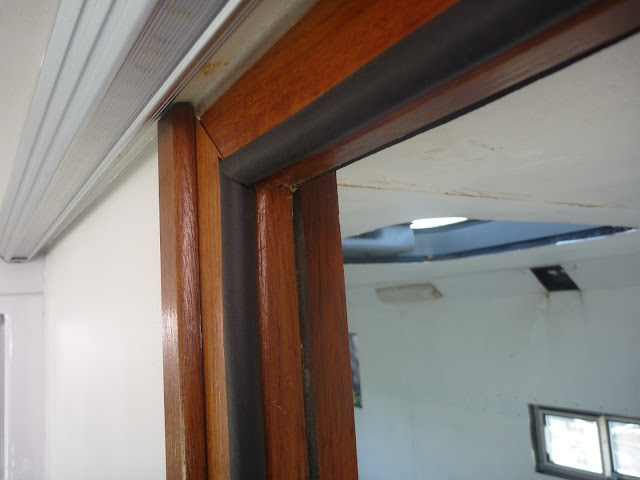
Another job that I finished off was the seal around the bathroom door. The sponge seal I had previously fitted will help, but despite my best intentions, it does not make contact with the door around the whole frame. To further prevent water leaking out of the shower, and to prevent the requirement for a shower curtain, which will inevitably go mouldy and try to molest me every time I get showered, I fitted a hollow bulb seal on the inside bevelled edge of the door frame.
I still have to fit a trap and waste pipe to the basin, and a mirror to the outside of the door, but this pretty much concludes the work on the bathroom.


No comments:
Post a Comment